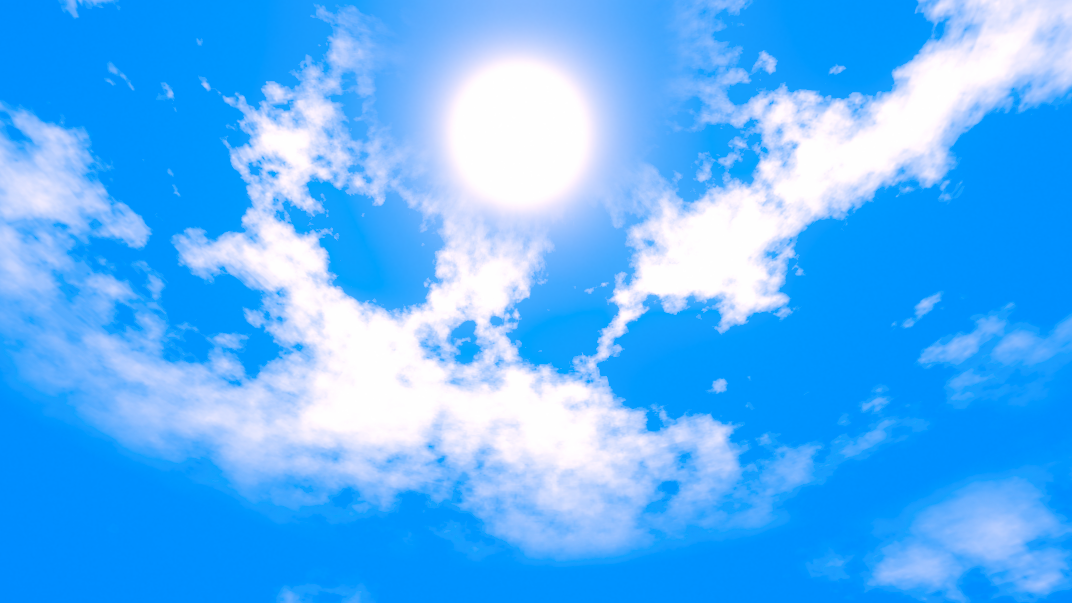
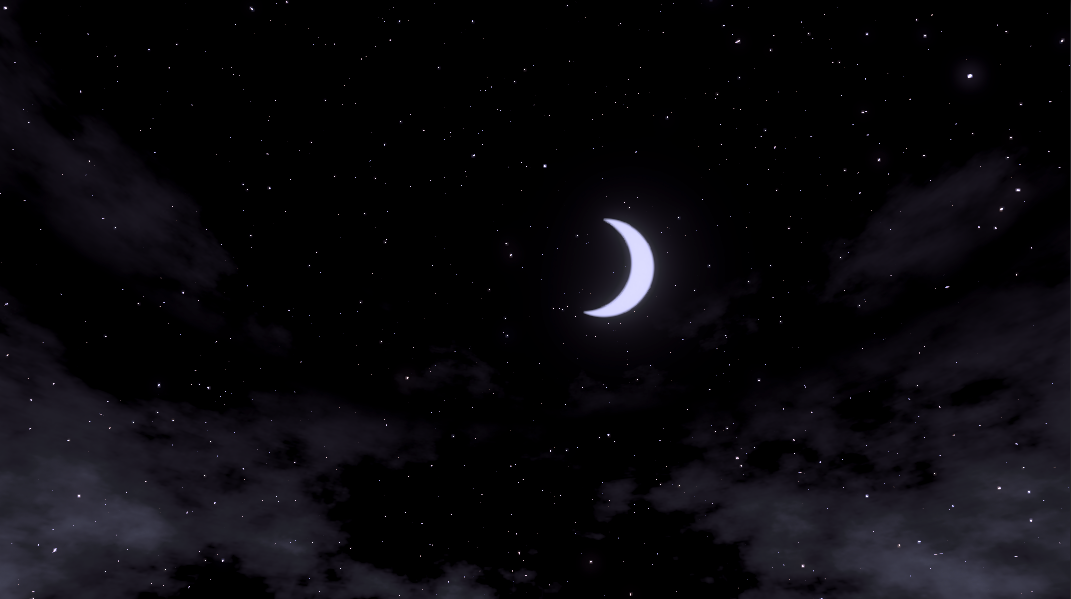
Recently I've been asked to implement a day/night cycle for an upcoming game I've been working on. In practice, this is easily achievable using Unity's built-in procedural skybox shader.
Plenty of resources on YouTube, for example, here's one that shows you how to get one up and running in 6 minutes: https://www.youtube.com/watch?v=m9hj9PdO328
To sum things up, adjusting the rotation of the directional light, changing the ambient lighting and fog color according to the current time of day is enough to achieve a believable day/night cycle in Unity.
However, what if we wanted to add stars, or clouds?
What I tried
- Create a separate dome mesh, and apply a material to it, making it transparent to allow it to blend with the background skybox.
- Attempt to modify the built-in Unity Procedural Skybox shader.
- Made my own procedural skybox shader.
Method 1: Separate Dome Mesh
I followed this amazing tutorial by Digvijaysinh Gohil to create a material for stars.
Aside from the stars shader, this video is a great introduction to how to begin using ShaderGraph to create your own shaders in Unity.
It briefly touches on UVs, procedural noise, useful math nodes, colors, gradients, and simple animation techniques to make the stars twinkle.
I made a simple dome mesh in blender, imported it into Unity, and then wasted a day or two struggling to get it to work properly with the camera. TLDR: Far plane clipping, temporal aliasing, camera layer stack, culling masks, etc.
This method is actually perfectly fine, but I wasn't too satisfied with the end result because of how finnicky the setup felt. So I decided to explore other options for more fine-grained control over the skybox.
Method 2: Modifying the built-in shader.
I don't know how to, so I decided to roll my own in the end.
Method 3: Time to learn ShaderLab
This time, I decided to go at it from scratch, learning how to write HLSL and ShaderLab.
Here's great resource to get started with shader programming: Book of Shaders It introduces a whole bunch of core concepts for drawing things in shaders.
See also this great article by Jannik Boysen on creating a procedural skybox shader in Shader Graph.
Sky
I started with a simple Unlit surface surface (URP), and began by filling in the sky color.
Below is some of the simplest code possible for a primitive procedural skybox. All it has is a simple sun disc, and some color interpolation between the horizon and the sky.
Shader "Unlit/ProceduralSkybox"
{
    Properties
    {
        _SunDirection ("Sun Direction", Vector) = (0., 0., 0., 0.)
        _SunColor ("Sun Color", Color) = (1., 1., 1., 1.)
        _SkyColor ("Sky Color", Color) = (1., 1., 1., 1.)
        _HorizonColor ("Horizon Color", Color) = (1., 1., 1., 1.)
    }

    SubShader
    {
        Tags { "Queue"="Background" "RenderType"="Background" "PreviewType"="Skybox" }
        Cull Off
        ZWrite Off

        Pass
        {
            CGPROGRAM
            #pragma vertex vert
            #pragma fragment frag

            #include "UnityCG.cginc"

            struct appdata
            {
                float4 vertex : POSITION;
                float3 uv : TEXCOORD0;
            };

            struct v2f
            {
                float3 uv : TEXCOORD0;
                float4 vertex : SV_POSITION;
            };

            float3 _SunDirection;
            half4 _SunColor;
            half4 _SkyColor;
            half4 _HorizonColor;

            v2f vert (appdata v)
            {
                v2f o;

                o.vertex = UnityObjectToClipPos(v.vertex);
                o.uv = v.uv;

                return o;
            }

            fixed4 frag (v2f i) : SV_Target
            {
                float3 pos = normalize(i.uv);
                float horizon = smoothstep(-0.1, 0.1, pos.y);

                half4 skyColor = lerp(_HorizonColor, _SkyColor, horizon);
                float sunFactor = dot(normalize(_SunDirection), pos);
                float sunMask = 1 - smoothstep(1.0, 0.99, sunFactor);

                skyColor += sunMask * _SunColor;
                return skyColor;
            }
            ENDCG
        }
    }
}
Result

Stars
We can use some layered value noise to generate a star field.
// Pseudo-random function
float rand(float3 co)
{
    return frac(sin(dot(co.xyz, float3(12.9898, 78.233, 45.5432))) * 43758.5453);
}

// Value noise function
float valueNoise(float3 p)
{
    float3 ip = floor(p);
    float3 fp = frac(p);

    float3 smooth = fp * fp * (3.0 - 2.0 * fp);

    float n000 = rand(ip);
    float n001 = rand(ip + float3(0, 0, 1));
    float n010 = rand(ip + float3(0, 1, 0));
    float n011 = rand(ip + float3(0, 1, 1));
    float n100 = rand(ip + float3(1, 0, 0));
    float n101 = rand(ip + float3(1, 0, 1));
    float n110 = rand(ip + float3(1, 1, 0));
    float n111 = rand(ip + float3(1, 1, 1));

    // Interpolate along x
    float n00 = lerp(n000, n100, smooth.x);
    float n01 = lerp(n001, n101, smooth.x);
    float n10 = lerp(n010, n110, smooth.x);
    float n11 = lerp(n011, n111, smooth.x);

    // Interpolate along y
    float n0 = lerp(n00, n10, smooth.y);
    float n1 = lerp(n01, n11, smooth.y);

    // Interpolate along z
    return lerp(n0, n1, smooth.z);
}

half4 generateStars(float3 viewDir) {
    float3 dir = viewDir;

    // Scale the direction to control star density
    float3 p = dir * _StarDensity;

    // Initialize color
    float4 col = float4(0, 0, 0, 0);

    // Star field generation
    for (int layer = 0; layer < _StarLayers; layer++)
    {
        // Add different scale noise layers
        float3 layerPos = p * (1.0 + layer * 0.5);

        // Get base star value
        float star = valueNoise(layerPos);

        // Threshold to create stars (adjust threshold for density)
        float threshold = 0.97 - (layer * 0.01);

        if (star > threshold)
        {
            // Remap star value to 0-1 range for this threshold
            star = (star - threshold) / (1.0 - threshold);

            // Apply star size adjustment (make smaller for more realism)
            star = smoothstep(0, _StarSize, star);

            // Create twinkle effect
            float twinkle = sin(_Time.y * _TwinkleSpeed + layerPos.x * 10 + layerPos.y * 10 + layerPos.z * 10);
            twinkle = lerp(1, (twinkle * 0.5 + 0.5), _TwinkleAmount);

            // Apply different colors based on noise
            float starTemperature = rand(floor(layerPos * 100));
            float4 starColor = lerp(_StarColor1, _StarColor2, starTemperature);

            // Adjust brightness and color
            float brightness = star * _StarIntensity * twinkle;
            col += starColor * brightness;
        }
    }

    // Apply overall visibility from day-night cycle
    col.rgba *= _Visibility;

    return col;
}
WIP
Clouds
Clouds can be achieved by sampling a noise or otherwise other cloudy texture.
Playing around with Math
Lerp
Smoothstep
Noise Erosion
To add more depth to our clouds, we can use a separate noise texture to manipulate the cloud texels.
Color Minus
One Minus
WIP
Cloud Mask
Scrolling
Common Pitfalls
1. Not using Seamless textures
- Problem: My clouds are ugly and don't wrap properly!
- Solution: Use a seamless texture.
2. Wrong mipmapping settings
- Problem: There's a weird line in the middle of my skybox!
- Solution: Disable mipmapping.
3. Not correctly mapping UVs to spherical coordinates
- Problem: My clouds are all stretched and weird!
- Solution: Properly map your UVs.
4. Texture Compression
- Problem: My clouds look kinda ugly/jagged.
- Solution: Make sure your textures are configured correctly, for the sharpest results, use Point Filtering with no compression.
Additional Resources
Results


WIP
- Color Math and operations (One-minus, Saturate, Smoothstep, Lerp, Masking)
- Noise, erosion, scrolling UVs, texture wrapping
- Post Processing (Bloom, Color Filters, Tonemapping, etc.)
- Volumetric Clouds (Raymarching)